When: Tuesdays, 3-5pm
Where: STEAM Center, San Mateo County Office of Education
Who: Educators (including homeschoolers)
The San Mateo County Office of Education has a STEAM Center well stocked with equipment such as 3D printers and laser cutters that educators may try out, or even borrow for their classrooms. Amazingly, this resource is open to homeschoolers as well!
To encourage educators to incorporate STEAM content into their lessons, they have introduced a series called Tech Tuesdays. Every Tuesday afternoon, educators may drop in with their own project, or try out a STEAM activity. This is a fun, no-pressure time to try some equipment and talk shop with others on how they draw out educational insights from the same activity.
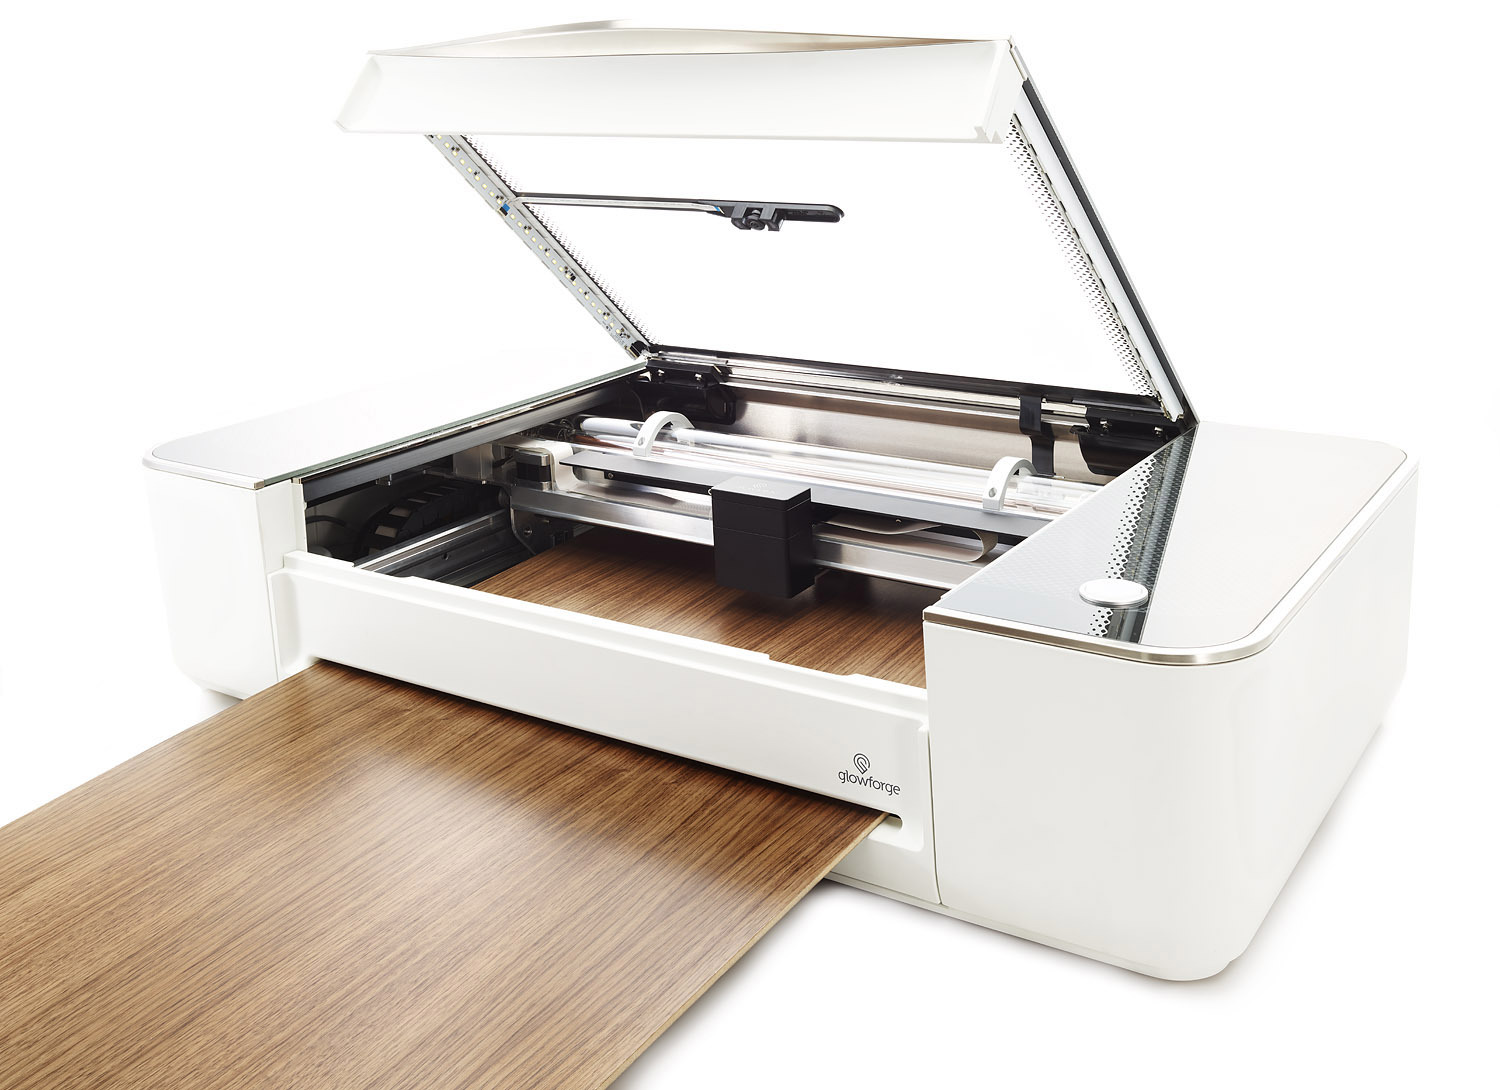
The Glow Forge Laser Printer is a CNC laser cutter/engraver which means it can cut out intricate designs from materials such as wood and leather, such as below.
Due to its size, if not its price, a CNC laser cutter would not show up in an average homeschool. Furthermore, maker spaces with such machines often require training (understandably) before permitting their use. So when the Tech Tuesday newsletter mentioned the activity would be laser cut jewellery, we jumped at the chance to try it out.
The GlowForge can print designs from image files, so we could simply have downloaded an amazing image, have the machine cut it out, and leave. But, the fun is in the making, isn't it? We started with sketching designs and going over it with black tape so the design would have high contrast with the paper and be easier to scan.
There were helpful prototypes - in the following, letter 'A' has a dot to indicate space, thus leaving a hole for a keychain. Also, the final cut jewellery would be small, but it was easier to sketch a large design than have the machine scale it down. However, this led to trade-offs, e.g. using the black tape to make curves requires approximation, as well as design questions: what is a good size for the prototype? Could we cut out an intricate Chinese character (requires thinking about negative space)? |
| Prototype 'A' and its final product |
The letter scanned successfully, and we resized it to the desired keychain size. It was then time to put in the material. We were able to re-use wood from other sessions, by viewing the material from the console, then simply dragging the design onto the area where we wanted it to cut.
Next step: Show time! Having ensured the cut would be in the right area and the right size, the machine could commence cutting. There were settings for power and speed to correspond to the materials used. Our strongest memory, however, is the warning, "If you see smoke, turn it off!" :)
 |
| Laser at work. Remember to operate this in a well ventilated area! |
 |
| From left to right: Result, Prototype, Process |
Although our design ended up being very simple, the process brought up good questions to ponder. We certainly are interested in designing more intricate things on image editors such as GIMP and Inkscape, but the hands-on process makes it accessible to a younger student.


No comments:
Post a Comment